Create the Stitch Pattern(s)
The Goal

Because our sample was not a hand knitting pattern, there are no stitch pattern charts to copy.
There are 3 possible ways of adding the original stitch pattern (or something similar) to your design.
3 ways to create the stitch Pattern
- Zoom and draw
- Substitute and design your own
- Graphic Studio

Need help in learning to create stitch patterns?


Create the Stitch Pattern(s)
Zoom and Draw
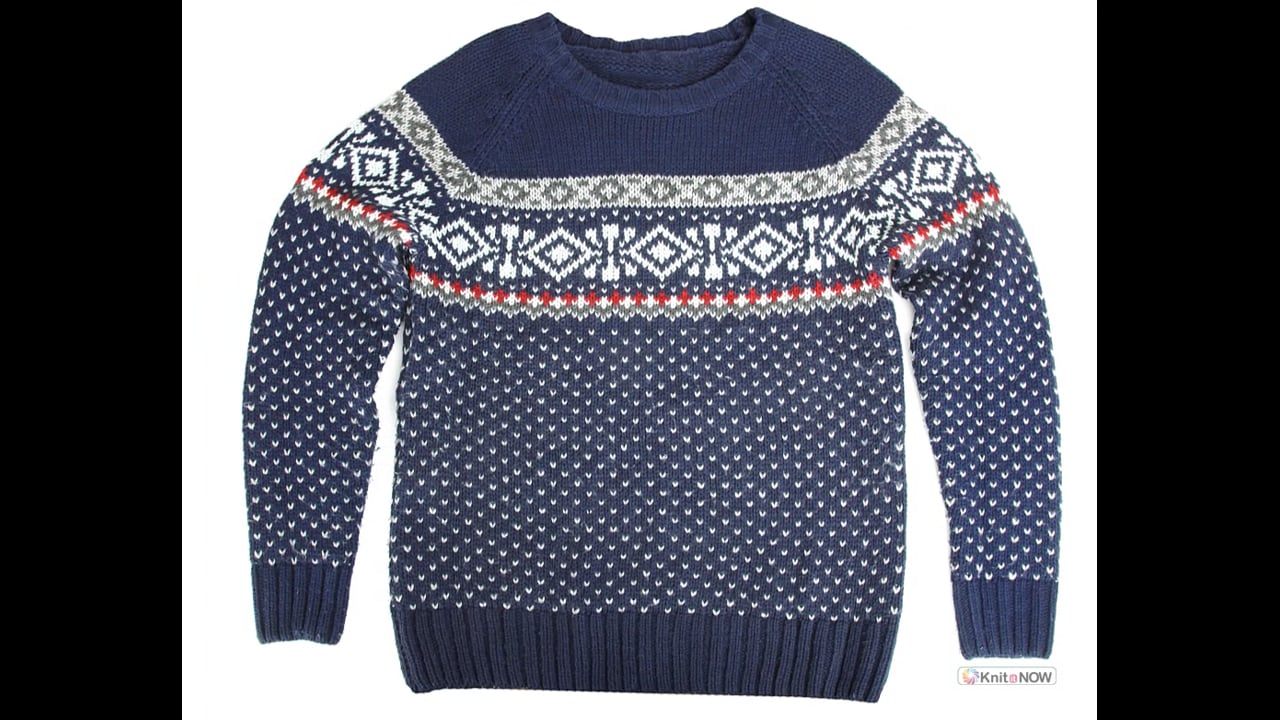
Since we have a large, clear photo, it's fairly easy to see the individual stitches of the stitch pattern.
By looking closely we can replicate this design.
By looking closely we can replicate this design.
Download the Fairisle Band.STP File

NOTES:
NOTES:
- Make sure all of the colors are opaque
- Plan the selecting and non-selecting colors (have multiple colors in the pallet if needed)

Long needle symbol | Selecting needles = contrasting color (front feeder)

Short needle symbol | de-selecting needles = main color | (back feeder)
- The above fairisle band is a 20 stitch repeat and is not appropriate for a 24 stitch punchcard machine.
Create the Stitch Pattern(s)
Substitute an Existing Pattern
Create the Stitch Pattern(s)
Import with Graphic Studio

Use Graphics Studio to convert an image of a punchcard (or a machine knitting chart)into a stitch pattern.
Instead of manually drawing each "hole" in Stitch Designer, if you have a clean, clear image, Graphics Studio can make quick work of the conversion


Create the Stitch Pattern(s)
Your Turn: Create your Stitch Pattern
Using any of the methods, create 2 stitch patterns to use on your garment.
You will integrate these stitch patterns with your garment pieces.
You will integrate these stitch patterns with your garment pieces.
- Birdseye pattern

- Fairisle border of your choice
Create the Stitch Pattern(s)
Select a lesson from the menu to get started.